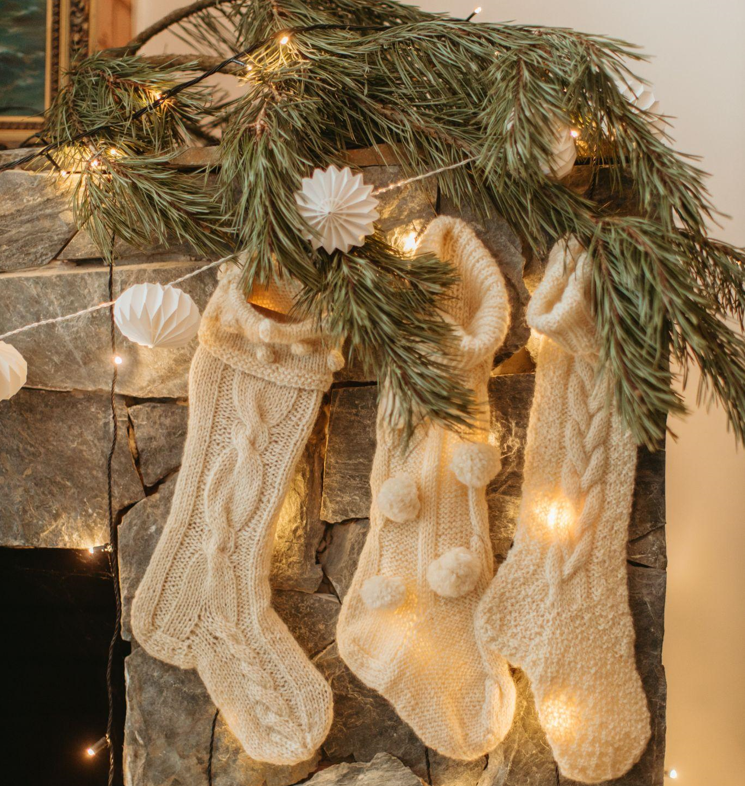
Materials Needed for Your DIY Christmas Garland
Before we dive into the step-by-step instructions, let’s gather all the necessary materials. First, you’ll need a sturdy base for your garland, such as a wire or foam base. Then, choose your artificial greenery, like pine, cedar branches, or even eucalyptus leaves, for a modern twist.
Add faux berries, pinecones, or ornaments for texture and color. But, of course, you’ll also need floral wire, wire cutters, and a glue gun to secure the embellishments.
Now that our materials are ready let’s begin creating your stunning DIY Christmas garland.
Creating Your DIY Christmas Garland
Step 1: Prep your base
Lay out your wire or foam base on a flat surface and shape it into a desired length and shape. Use floral wire to secure any loose spots.
Step 2: Add Greenery
Start by adding faux greenery to the base and securing it with wire as needed. Make sure to vary the direction and length of the branches for a natural look.
Step 3: Add Embellishments
Once you’ve added enough greenery, it’s time to add the festive embellishments. Start with the most significant pieces, such as pinecones or ornaments, and secure them with hot glue.
Step 4: Fill in the Gaps
Take a step back and assess the overall look of your artificial Christmas garland. Look for gaps or bare spots and add more greenery or embellishments.
Step 5: Hang up Your Garland
Once you’re happy with how your DIY Christmas garland looks, it’s time to hang it up. Use a fishing line or ribbon to secure it to any desired location, such as a staircase, mantel, or doorway.
With these simple steps, you can create a stunning DIY Christmas garland to impress your guests. It is a fun and easy craft project, but it can save you money compared to buying a store-bought one. Feel free to get creative with your materials and experiment with different color schemes. Whether you opt for classic red and green or modern blues and silvers, your DIY Christmas garland will surely be a hit this holiday season.
